

Screw Air Compressor Fails to Build Pressure: Causes and Inspection Methods
Article reviewed by the PhuAir Technical Department - Updated: 05/09/2026
Screw air compressor fails to build pressure, builds pressure slowly, or does not reach the set pressure is an issue that should be inspected promptly, especially in factories using compressed air for CNC machines, cutting machines, automation, and production equipment.
However, a compressor failing to build pressure does not necessarily mean that the airend is damaged.
The cause may lie in the air intake system, control valves, unload valve, oil separator, sensors, control system, or even the downstream piping system and air demand.
Removing the airend or immediately carrying out an overhaul before identifying the root cause may result in unnecessary costs for the business.
The following article helps the operation and maintenance teams narrow down the causes of a screw air compressor failing to build pressure, while also determining when in-depth inspection or airend evaluation is required.
1. QUICK ANSWER: Why Does a Screw Air Compressor Fail to Build Pressure?
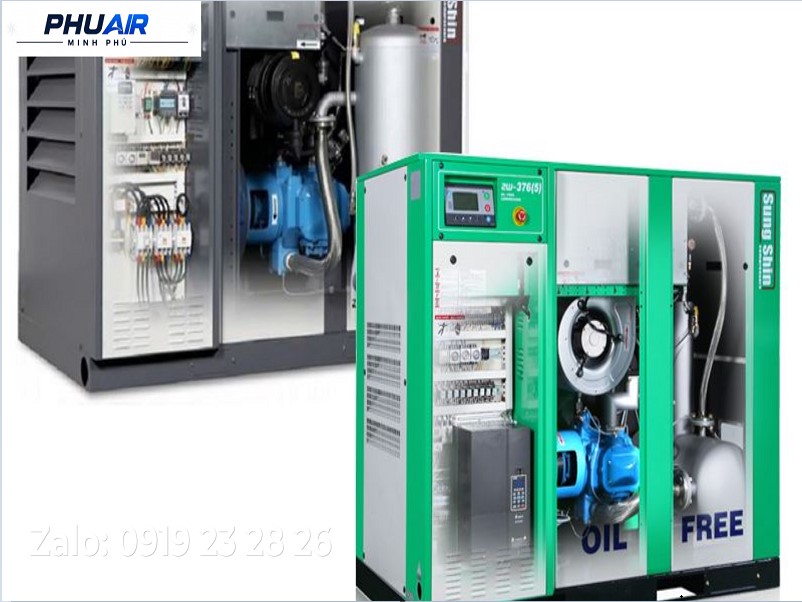
When a screw air compressor is still running but the pressure does not increase or does not reach the set level, the cause usually falls into one or more of the following groups:
Air Intake System: The Inlet Valve does not open or does not operate correctly.
Control System: The Solenoid, control signal, or pressure sensor has a problem.
Unloading System: The unload valve does not operate correctly or is leaking.
Filtration and Separation System: The air filter, oil separator, or related assemblies are clogged or operating abnormally.
Minimum Pressure Valve (MPCV): Does not operate according to the compressor’s design.
Air Distribution System: Significant leakage or air demand exceeds the compressor’s actual supply capacity.
Airend Assembly: There may be performance degradation or mechanical damage, but this must be confirmed through in-depth inspection.
Important: Do not conclude that the Airend is damaged based solely on the symptom of the “compressor failing to build pressure.”
2. SIGNS THAT A SCREW AIR COMPRESSOR IS FAILING TO BUILD PRESSURE
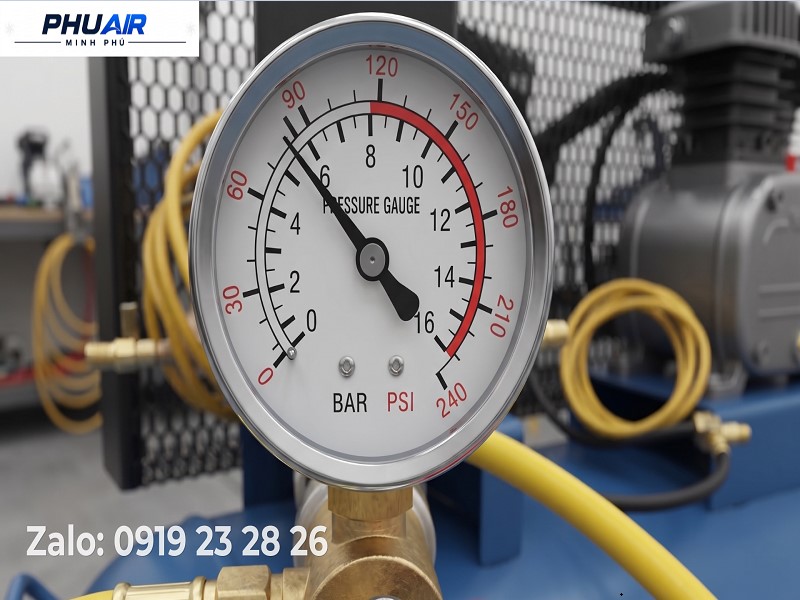
2.1. The Compressor Runs but Pressure Increases Very Slowly
The motor is still running, and the compressor switches to LOAD mode, but system pressure increases significantly more slowly than under normal operating conditions.
The following may need to be checked:
Inlet Valve.
Control valve/solenoid.
Air filter.
Unload valve.
Oil separator.
Actual load conditions of the system.
2.2. The Compressor Runs Continuously but Does Not Reach the Set Pressure
For example, the compressor is set to control around a certain pressure level, but the actual pressure only increases to a lower level and then remains there.
In this case, it is necessary to distinguish between:
The compressor is genuinely not generating enough air
or
The system’s air consumption/leakage is greater than the compressor’s supply capacity.
These are two completely different issues and require different corrective measures.
2.3. The Compressor Builds Pressure When the Load Is Isolated but Pressure Drops Quickly When Supplying the System
If, under appropriate test conditions, the compressor is still able to build pressure when there is no load from the downstream system, but the pressure drops quickly when supplying air to the factory, the following should be checked:
Piping leakage.
Isolation valves.
Abnormal air-consuming equipment.
Continuous air discharge points.
Actual FAD demand of the entire system.
Do not rush to conclude that the compressor or Airend is damaged.
2.4. The Compressor Is in LOAD Mode but Pressure Barely Increases
This is a notable indication of a problem in the intake/compression system.
The following may need to be checked:
Whether the Inlet Valve actually opens as required under operating conditions.
Whether the Solenoid operates correctly.
Whether there is any abnormality in the control air signal line.
Whether the controller is sending the correct command.
Whether the valves related to the Load/Unload mode are stuck or leaking.
Electrical and control-air checks should be performed by qualified technicians in accordance with the compressor schematic and the manufacturer’s instructions.
3. DIAGNOSTIC TABLE FOR A SCREW AIR COMPRESSOR FAILING TO BUILD PRESSURE
Identified Symptoms | Suspected Technical Component | Next Action |
|---|---|---|
Compressor runs but pressure increases very slowly | Inlet Valve, solenoid, air filter | Check the air intake status and control signal |
Compressor is in LOAD mode but pressure does not increase | Inlet Valve, control system, unload valve | Check the Load/Unload cycle and intake mechanism |
Air is continuously discharged while the compressor needs to build pressure | Unload valve, solenoid, control line | Check for abnormal air discharge |
Compressor is abnormally hot and does not reach the required pressure | Oil separator, cooling system, load conditions | Check differential pressure and parameters according to the OEM |
Compressor can build pressure but pressure drops quickly when supplying the factory | Leakage, high air demand, valves/air discharge | Check the distribution system and air consumption |
Abnormal pressure in the oil separator vessel | MPCV, separation and control system | Check according to the configuration of each model |
Abnormal noise/vibration accompanied by reduced compression performance | Airend or drive mechanism | Stop the compressor and perform an in-depth inspection |
Note: A single symptom may originate from multiple causes. The table above is intended to narrow down the possible causes and does not replace the model-specific diagnostic procedure.
4. 7 COMMON CAUSES OF A SCREW AIR COMPRESSOR FAILING TO BUILD PRESSURE
4.1. The Inlet Valve Does Not Operate Correctly
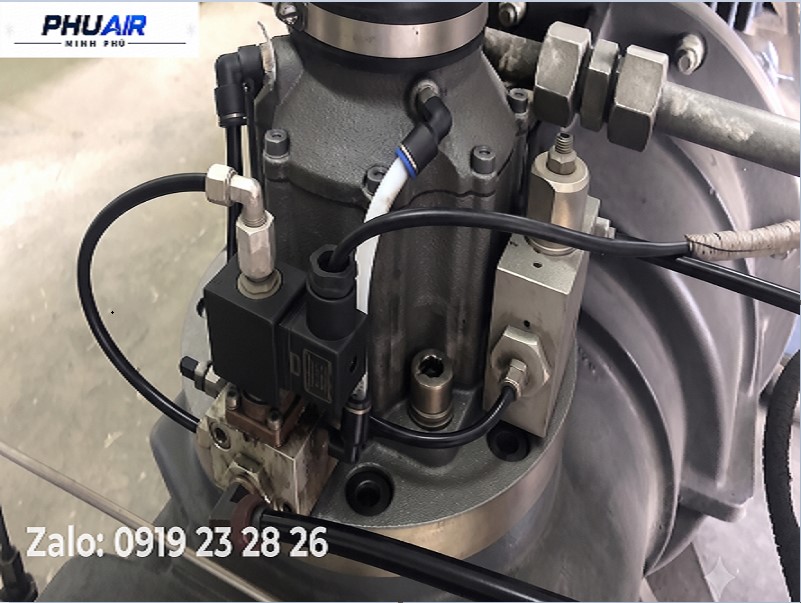
The Inlet Valve controls the amount of air entering the compression unit.
If the valve does not open correctly when the compressor needs to enter Load mode, the amount of air entering the Airend may be insufficient, causing the compressor to run while pressure increases slowly or fails to reach the required level.
Possible causes may include:
The valve mechanism is stuck.
A problem with the control air line.
The control Solenoid is not operating correctly.
An inappropriate control signal.
The compressor’s control configuration.
4.2. Solenoid or Control Circuit Failure
The Solenoid is responsible for controlling pneumatic mechanisms according to signals from the control system.
If the Solenoid does not operate correctly, the Inlet Valve or unload valve may fail to switch to the required state.
In this case, all of the following should be checked:
Control signal → Solenoid → Control air line → Valve mechanism
rather than immediately replacing only the coil.
4.3. The Unload Valve Is Leaking or Not Operating Correctly
In the Unload state, the compressor may perform pressure blowdown according to its design.
If the unloading mechanism is leaking or fails to switch states correctly, some of the air may be lost, or the compressor may be unable to maintain the required compression conditions.
The system should be checked according to the specific compressor configuration and the manufacturer
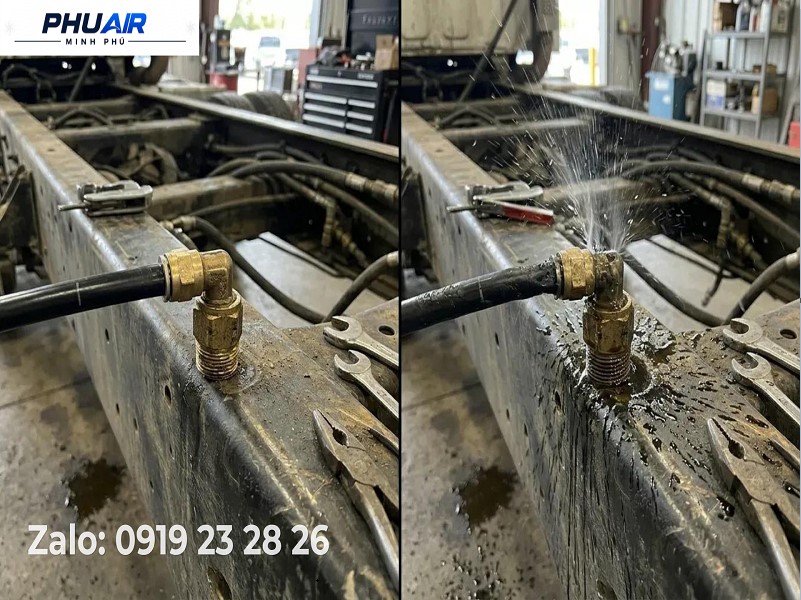
Not every case of low pressure originates from the compressor.
If:
The factory has recently expanded production;
Additional air-consuming equipment has been installed;
There are multiple compressed air leakage points;
Discharge valves or air-consuming equipment are operating abnormally;
then the total demand may exceed the actual supply capacity of the system.
In this case, the compressor may have to operate for extended periods while the pressure still fails to reach the desired level.
4.7. Airend Performance Degradation or Damage
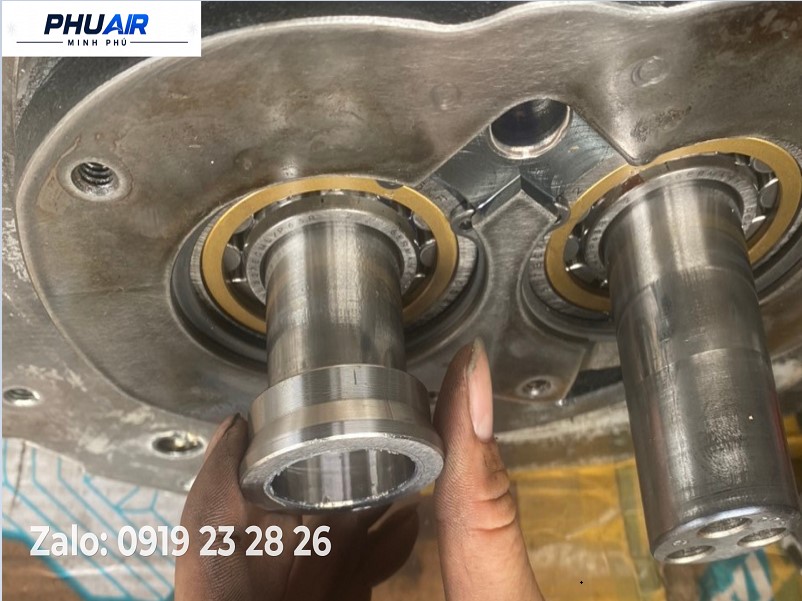
This is a possible cause, but it should not be the first conclusion.
When the Airend has a serious problem, the following symptoms may occur simultaneously:
Reduced compression performance.
Abnormally increased pressure build-up time.
Unusual noise or vibration.
Abnormal operating temperature.
Other abnormal mechanical indications.
To determine whether the Airend needs to be overhauled or replaced, appropriate inspection and measurements must be performed in accordance with the compressor’s technical standards.
5. DIFFERENTIATING: IS THE COMPRESSOR UNDERPERFORMING OR IS THE SYSTEM OVERLOADED?
This is a critical step before removing any major component assembly.
Case 1: The Compressor Actually Has a Problem
For example:
The compressor previously built pressure normally, but recently the pressure build-up time has increased significantly, even though air demand has not changed.
In this case, the following should be checked systematically:
Inlet Valve → Solenoid → Unload Valve → Filters → MPCV → Control System → Airend
Case 2: The System Is Consuming Too Much Air
For example:
After the factory adds more equipment, the compressor starts running continuously while system pressure decreases.
In this case, the following should be considered:
Compressor FAD < Actual Air Demand
In addition to compressor capacity, the following should also be evaluated:
Air consumption.
Leakage.
Required equipment pressure.
Pressure losses in the piping.
Multiple-compressor configuration.
Load/Unload or VSD control mode.
How to Differentiate
Under test conditions appropriate for the system, the compressor’s pressure build-up capability can be evaluated while downstream load is reduced/isolated.
If the compressor is able to reach the normal control pressure condition when downstream load is excluded, but pressure drops significantly when connected to the entire system, the inspection should shift toward leakage, load, and the overall system’s air supply capacity.
6. INSPECTION PROCEDURE FOR A SCREW AIR COMPRESSOR FAILING TO BUILD PRESSURE
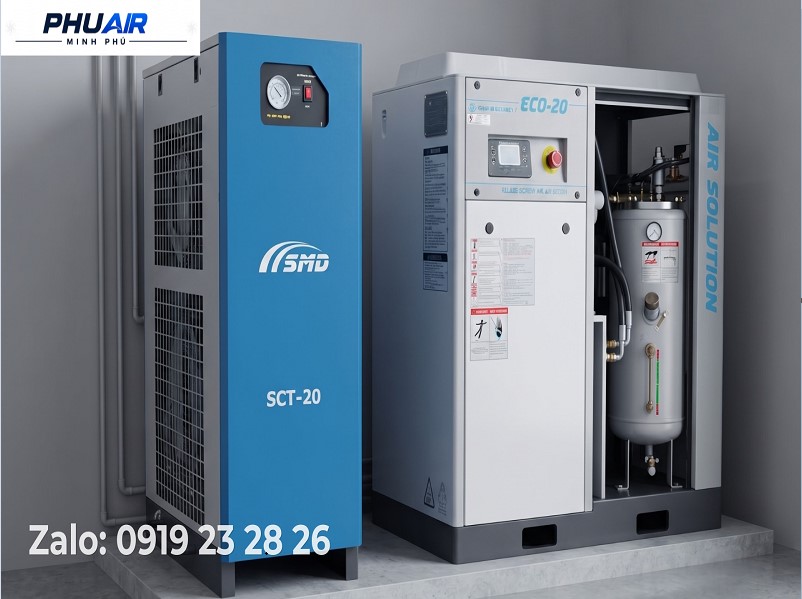
Step 1: Check Operating Information
The operator should record:
Current pressure.
Set pressure.
Load/Unload status.
Alarm/Fault code.
Compressor running time.
Any abnormal noise, temperature, or leakage.
This is important data for the technician to narrow down the possible causes.
Step 2: Check External Operating Conditions
Check observable factors without opening the electrical cabinet or disassembling the compressor assembly:
Whether the compressor is operating in the correct mode.
Whether there is any Alarm/Fault.
Current system pressure.
Whether there is any abnormal air leakage noise.
Whether the air supply valves are in the appropriate position.
Whether air demand has increased abnormally.
Step 3: Check the Intake and Control Systems
The technician should check:
Inlet Valve.
Solenoid.
Control air line.
Sensor signals.
Load/Unload cycle.
Unload valve.
Electrical measurements and internal electrical cabinet inspections must be performed by qualified personnel after applying the appropriate energy-isolation procedure.
Step 4: Check the Filtration and Separation Systems
Check:
Air filter.
Oil separator.
Differential pressure across the filter element according to the OEM standard.
Oil condition and any abnormal indications in the system.
A single differential-pressure value should not be applied to all compressor models.
Step 5: Check the MPCV and Related Valves
Depending on the model, the technician should check:
Minimum Pressure Valve.
Check valve.
Unload valve.
Control air lines.
Valve leakage or sticking.
Valve assembly disassembly must be performed according to the manufacturer’s technical documentation and safety procedures.
Step 6: Evaluate the Airend After Other Causes Have Been Eliminated
The Airend should only be evaluated after causes related to:
Air Intake → Control → Valves → Filtration/Separation → Distribution System
have been checked.
If abnormal compression performance is still confirmed, the technician can then proceed with in-depth inspection of the Airend assembly.
7. WHEN SHOULD YOU SUSPECT A DAMAGED AIR END?
The following conclusion should not be made:
“The compressor fails to build pressure = the Airend must be replaced.”
The Airend should become a higher-priority suspect when multiple symptoms occur together, such as:
A clear reduction in pressure-building performance.
An abnormally increased pressure build-up time despite equivalent load conditions compared with previous operation.
The intake/unloading and control mechanisms have been confirmed to be operating properly.
The filtration and separation systems show no significant abnormalities.
System air demand and leakage have been ruled out.
Abnormal noise, vibration, or other mechanical indications are present.
The decision to repair, overhaul, or replace the Airend should be based on actual inspection results and the technical criteria for the specific compressor model.
8. SHOULD YOU CONTINUE OPERATING THE COMPRESSOR WHEN IT FAILS TO BUILD PRESSURE?
Prolonged operation should not be continued when the cause has not yet been identified.
If the compressor has to operate continuously under abnormal conditions, this may increase operating time, thermal load, and energy consumption depending on the compressor configuration and control mode.
In particular, if the compressor exhibits:
Abnormally increasing temperature.
Abnormal current.
Severe abnormal noise/vibration.
Burning smell.
Serious oil or air leakage.
Alarm/Fault related to compressor protection.
→ The compressor should be stopped and subjected to technical inspection.
Do not bypass or disable protective devices simply to force the compressor to continue operating.
9. FREQUENTLY ASKED QUESTIONS
Does a screw air compressor failing to build pressure mean that the Airend is damaged?
Not necessarily.
The Inlet Valve, Solenoid, unload valve, MPCV, filters, sensors, control system, leakage, or air demand exceeding the supply capacity can all cause the compressor to fail to reach the required pressure.
The Airend should only be concluded to have a problem after other relevant causes have been properly inspected and eliminated.
What should be checked first when the compressor runs but does not build pressure?
Start with:
Load/Unload status → current pressure → Alarm/Fault → air intake system → control valves → filters → compressed air distribution system.
Only then should more in-depth inspections be carried out.
Can piping leakage cause the compressor to fail to build pressure?
Yes, it can.
If air losses are significant or air demand exceeds the supply capacity, the compressor may have to operate for extended periods while system pressure remains low.
Should the Inlet Valve be replaced immediately when the compressor fails to build pressure?
It should not be replaced immediately before the cause has been identified.
The valve condition, control signal, and related components should be checked first to determine whether the valve itself has actually failed or whether the cause lies in the control system.
When should a technician be called?
Technical support should be contacted when:
The compressor does not reach the required pressure after basic operating conditions have been checked.
The compressor displays an Alarm/Fault.
There are signs of overheating or overcurrent.
Abnormal noise/vibration is present.
The electrical cabinet, Solenoid, sensor, or control circuit needs to be inspected.
The valve, MPCV, or Airend needs to be disassembled or evaluated.
10. PHUAIR SUPPORT FOR DIAGNOSING SCREW AIR COMPRESSORS THAT FAIL TO BUILD PRESSURE
Is the screw air compressor at your factory experiencing failure to build pressure, slow pressure build-up, or failure to reach the set pressure?
To help PhuAir narrow down the cause more quickly, customers should provide:
Compressor brand + Model + Power.
Serial Number, if available.
Photo of the compressor nameplate.
Photo of the controller display and Alarm/Fault code.
Current pressure and set pressure.
Video showing the compressor running but failing to build pressure, if conditions permit.
Information about air demand or any recent changes to the system.
Factory location if an on-site inspection is required.
PhuAir will use the equipment information and actual operating condition to narrow down the cause, propose an appropriate corrective solution, and minimize unnecessary component replacement.
A screw air compressor failing to build pressure does not necessarily mean that the Airend is damaged. Identifying the correct cause before replacing components is the right way to control costs and reduce downtime.