

1. Quick Answer
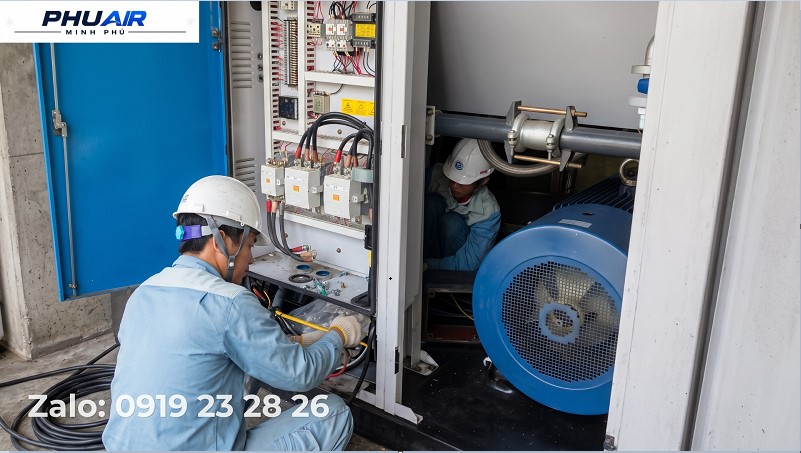
The condition in which an air compressor (both piston and screw) continues running, with the motor operating normally, but the pressure fails to reach the setpoint—or rises very slowly and then drops as soon as the factory uses compressed air—usually stems from one of two groups of causes:
Problems outside the compressor: Air demand exceeds the compressor's supply capacity, air leaks from piping or connections, or pressure drops along the pipeline between the compressor and the point of use.
Problems within the compressor itself: A clogged air filter, improper Inlet Valve operation, a clogged oil separator, a faulty Minimum Pressure Valve (MPV), or wear in the internal compression assembly (piston rings/valve plates in piston compressors; rotor clearances/seals in screw compressors).
The most important step is to distinguish between these two groups before carrying out repairs. The quickest method is to close the outlet valve and test the compressor independently (see Section 4, Step 1).
⚠️ Operating Warning
When an air compressor must run continuously without reaching the required pressure, the motor and Airend can overheat faster than normal, increasing the risk of motor winding burnout, oil varnish formation (in screw compressors), or piston seizure (in piston compressors). Therefore, do not allow this condition to persist without identifying the cause.
2. Is the Insufficient Pressure Caused by the Compressor or the System?
Two cases must be distinguished first, as each requires a completely different inspection approach:
Case | Possible Cause | Inspection Direction |
|---|---|---|
The compressor may be unable to generate sufficient pressure | Pressure at the compressor itself fails to reach the setpoint | Air demand, leaks, air filter, Inlet Valve, oil separator, Airend |
The compressor may generate sufficient pressure, but pressure is lost in the piping or at the point of use | Pressure at the compressor is normal, but pressure is low at the end of the pipeline | Piping, line filters, couplings, pipe diameter and length |
Confusing these two cases can lead to repairs being performed in the wrong place—for example, overhauling the Airend when the actual problem is excessive pressure drop in the piping system.
3. Symptom and Inspection Guide
Observed Symptom | Potential Cause to Check First | Corrective Action |
|---|---|---|
The compressor still cannot build sufficient pressure when the outlet valve is closed | Compression wear or internal damage | Inspect piston rings/valve plates (piston compressors) or the MPV/rotor clearances (screw compressors) |
The compressor builds sufficient pressure and unloads normally when the outlet valve is closed | Factory air leaks or air demand exceeding compressor capacity | Inspect the entire system for leaks and reassess air demand |
Weak intake airflow at the air filter, with a whistling noise from the compressor | Clogged air filter | Clean or replace the air filter |
Continuous air leakage noise from the safety valve/unloading valve | Stuck safety valve or faulty unloading solenoid valve | Clean or replace the safety valve/solenoid valve |
Weak air intake and very slow pressure buildup | Improper Inlet Valve operation | Check in sequence: control signal → solenoid valve → piston → Inlet Valve |
Compressor pressure is normal, but the gauge reading differs from the controller display | Sensor/signal fault | Check the pressure sensor, connectors, and signal wiring |
Oil separator tank pressure is high, but the displayed pressure is low | Clogged oil separator or Minimum Pressure Valve issue | Measure differential pressure and inspect the MPV |
The compressor reaches the required pressure, but pressure at the point of use remains low | Piping restrictions/pressure drop | Measure pressure at multiple points along the pipeline |
4. Step-by-Step Procedure to Isolate the Cause of an Air Compressor Running Continuously
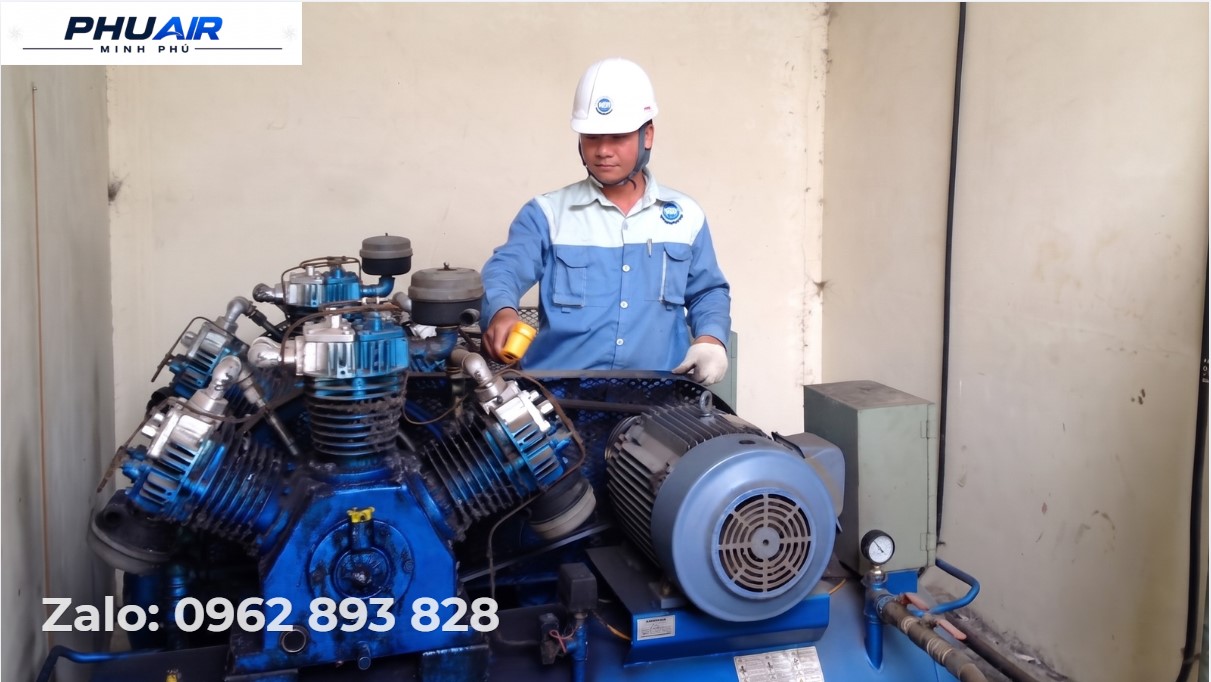
Step 1 – Isolate the Outlet Valve to Test the Compressor Independently
Procedure: Fully close the valve between the air receiver (or compressor) and the factory's air supply piping system.
Assessment:
If the compressor builds pressure quickly and unloads, the compressor is operating normally. The cause lies in the factory air system, such as significant air leakage or air demand exceeding the compressor's design capacity. Proceed to Steps 2–3.
If the valve is closed but the compressor continues running without building sufficient pressure, the fault lies within the compressor itself. Proceed to Step 4 onward.
Note: Closing the outlet air supply valve should first be assessed by technicians, as this temporary action may affect the production line.
Step 2 – Check Actual Equipment Air Demand
Check whether new equipment has been added, overtime or production output has increased, more equipment is operating simultaneously, or air demand has increased compared with previous levels.
If air demand exceeds the compressor's supply capacity, reassess the total required airflow, application pressure requirements, load fluctuations, and compressor capacity. The appropriate solution may be to optimize the system or consider adding capacity rather than modifying the compressor.
Step 3 – Check for Compressed Air Leaks
Inspect couplings, valves, piping, flexible hoses, filters, end-use equipment, and other connection points. A common method is to apply soapy water to joints and look for bubbles, or listen and observe for signs of abnormal air discharge.
If the problem occurs despite no increase in air demand, air leakage should be prioritized during inspection. Leaks not only create operational concerns but also increase compressor runtime and electricity costs.
Step 4 – Inspect the Intake Air Filter and Inlet Valve
Air filter: Remove the filter element and check for dirt, grease, or oil deposits. An excessively clogged air filter restricts intake airflow, reduces the compressor's output airflow, and makes it difficult to reach the required pressure. Clean the filter, if the filter type permits cleaning, or replace it according to the manufacturer's maintenance recommendations.
Intake/Inlet Valve: If the valve is stuck or only partially open, the amount of air entering the Airend will be insufficient. In some cases, the motor continues running under load but insufficient air enters through the air filter inlet. Follow the correct inspection sequence: control signal → solenoid valve → piston/valve mechanism → Inlet Valve. Do not conclude that the valve is faulty based on visual inspection alone.
Step 5 – Inspect the Safety Valve and Unloading/Solenoid Valve
Listen and observe around the compressor for air leakage from the safety valve, automatic drain valve, solenoid valve, or unloading valve.
If the safety valve leaks air before the pressure reaches the required threshold, its spring may have slipped or its seal may be damaged. Replacement may be necessary.
If the load solenoid valve remains open, compressed air may be continuously discharged to the atmosphere instead of being delivered to the air receiver.
Step 6 – Check Pressure Drops Along the Piping System
Measure pressure at multiple locations in sequence: compressor → air receiver → beginning of the pipeline → end of the pipeline → point of use.
If pressure is normal at the compressor but drops significantly farther downstream, focus on the air distribution system rather than repairing the compressor. Potential causes include undersized or excessively long piping, too many elbows and valves, clogged line filters, or excessive air demand at that time.
Step 7 – Inspect the Internal Compression Components if the Cause Has Not Been Identified
This step focuses on inspecting components inside the compressor, particularly the valves and piston components:
Remove the cylinder and inspect the intake and discharge valve plates. If the valve plates are bent, frozen, or covered with carbon deposits, replace them.
Inspect the piston rings and cylinder. If the piston rings are worn or the cylinder has deep scoring, compressed air may leak past the rings into the crankcase (blow-by), preventing the compressor from building sufficient pressure.
Additional checks:
Inspect the Minimum Pressure Valve (MPV). This valve maintains a minimum pressure inside the oil separator tank; the specific threshold depends on the compressor model and should be confirmed in the manufacturer's documentation. If the MPV spring or valve mechanism is faulty, air may escape into the downstream system without the compressor establishing the required system pressure.
Inspect the Inlet Valve assembly and confirm that the valve opens fully when the compressor is loaded. In some cases, the valve opens only partially because of a faulty actuator cylinder.
Inspect the oil separation system. If the controller displays low pressure while pressure inside the oil separator tank remains high, the oil separator or Minimum Pressure Valve may be faulty. Measure differential pressure according to the correct technical procedure and compare the result with the limits specified for the compressor model. Do not apply one fixed differential pressure limit to every compressor.
Do not select and replace an individual spare part based on guesswork at this stage. Measurements and operating data must be compared to determine the compressor's actual performance.
Step 8 – Check the Controller Readings
Compare the actual pressure, measured using an independent mechanical pressure gauge, with the pressure displayed on the controller and the LOAD/UNLOAD status.
If the actual pressure does not match the displayed value, inspect the pressure sensor, connectors, terminals, signal wiring, and pressure sensing point before concluding that the compressor is faulty.
Only after sufficient data has been collected from the preceding steps should a conclusion be reached and a repair method selected.
5. Quick Diagnostic Table
Symptom | Priority Inspection |
|---|---|
The compressor builds pressure normally after the outlet valve is closed | Air leaks in the system |
The compressor still fails to build sufficient pressure with the outlet valve closed | Internal compressor components |
Weak intake airflow or a whistling noise | Clogged air filter |
Air leakage noise from the safety valve or unloading valve | Safety valve, unloading valve/solenoid valve |
The compressor does not draw in air normally | Inlet Valve |
Oil separator tank pressure does not match the controller display | Oil separator, Minimum Pressure Valve, pressure sensor |
The compressor reaches the required pressure, but pressure is low at the end of the pipeline | Pressure drop in the piping system |
The controller display does not match actual operating conditions | Pressure sensor/signal wiring |
6. Mistakes to Avoid
❌ Overhauling or replacing the Airend immediately without first isolating the outlet to determine whether the fault lies within the compressor or the system.
❌ Increasing the pressure setting to compensate for insufficient pressure. If the Airend has suffered mechanical wear, this will only overload the motor and increase the risk of winding burnout without resolving the actual air supply problem.
❌ Ignoring noise from the safety valve or unloading valve. This may be a direct cause of insufficient system pressure.
❌ Applying one fixed differential pressure limit or numerical value to every compressor model. Each model has its own limits specified by the manufacturer.
❌ Allowing the compressor to continue operating for an extended period while the cause remains unidentified. This may increase energy consumption, affect air-consuming equipment, and, in severe cases, cause mechanical overheating or piston seizure.
7. Should You Continue Running the Compressor?
Do not ignore a compressor that runs continuously but fails to build sufficient pressure, especially if the problem has appeared recently or is becoming progressively worse.
Continuing to operate the compressor without identifying the cause may lead to longer operating hours, higher energy consumption, and problems with air-consuming equipment. If the compressor has significant internal air leakage or a severely clogged air filter, it must work harder than normal to supply enough air. Continuous operation and inefficient compression generate heat, raise the operating temperature, and increase the risk of mechanical damage.
8. Long-Term Solutions
Clean and replace components periodically: Replace the air filter, oil filter, and oil separator according to the manufacturer's specified maintenance intervals. Do not apply the same interval to every brand or model. This helps maintain maximum intake airflow.
Repair leaks throughout the factory piping network: Inspect the entire piping system promptly. Use soapy water to check connections and replace faulty fittings.
Overhaul the Airend when due: Follow the manufacturer's maintenance recommendations. Replace piston rings and rebore cylinders on piston compressors, or replace bearings and adjust screw rotor clearances on screw compressors, when the recommended operating-hour interval has been reached.
Reassess the required compressor capacity: If new machinery has been added to the factory, calculate whether an auxiliary air compressor or a larger air receiver is required.
9. When Should You Call a Technician?
Contact a technician when:
The outlet valve has been closed to test the compressor independently, but the compressor still cannot build sufficient pressure.
Air is escaping from the safety valve or unloading valve for an unknown reason.
Actual pressure does not match the value displayed on the controller.
The air filter and other suspected issues have been checked, but the problem persists.
The compressor shows signs of abnormal overheating during operation.
Information to Prepare Before Contacting a Technician
Compressor model, power rating, type (piston/screw), and a photo of the machine nameplate.
Set pressure and actual operating pressure.
Results of the outlet isolation test, if performed.
Controller display information and a video showing the symptoms.
Most recent maintenance history.
10. Frequently Asked Questions (FAQ)
Why Does an Air Compressor Run Continuously but Still Fail to Build Sufficient Pressure?
Common causes include air demand exceeding supply capacity, air leaks, pressure drops in the piping system, a clogged air filter, Inlet Valve faults, oil filter issues, pressure sensor faults, or internal mechanical wear. The latter may involve piston rings or valve plates in piston compressors, or the MPV and screw rotor clearances in screw compressors.
Why Does the Compressor Run Continuously Without Increasing Pressure?
First, close the outlet valve to test the compressor independently. If it builds sufficient pressure with the valve closed, the problem lies in the system, such as excessive air demand or leaks. If it does not, the problem lies within the compressor itself. Do not replace spare parts before obtaining sufficient diagnostic data.
Can Air Leaks Cause a Compressor to Run Continuously?
Yes. Air leaks force the compressor to operate longer to compensate for the lost air.
If the Compressor Reaches the Required Pressure but the Equipment Still Has Low Pressure, Is the Compressor Faulty?
Not necessarily. Inspect the piping, filters, and pressure-drop points between the compressor and the point of use.
Can a Clogged Air Filter Cause Insufficient Pressure?
Yes. A clogged air filter restricts intake airflow and can reduce the compressor's air delivery capacity.
Why Does the Compressor Take a Long Time to Build Pressure and Become Very Hot?
When the compressor has significant internal leakage, such as worn piston rings or damaged valve plates, or when the air filter is clogged, it must work harder than normal to supply enough air. Continuous operation and inefficient compression generate heat, causing the compressor to overheat.
Can an Undersized Air Receiver Cause the Compressor to Run Continuously Without Building Sufficient Pressure?
An undersized air receiver does not reduce the compressor's maximum output capacity, but it causes the stored air pressure to drop more quickly as soon as air-consuming equipment starts operating. This can force the compressor to remain loaded continuously without sufficient idle time.
Should You Increase the Pressure Setting to Improve Air Supply?
No. If the compressor has suffered mechanical wear, increasing the pressure setting will only overload the equipment and increase the risk of motor winding burnout. It will not resolve the actual lack of air delivery capacity.
When Should the Airend Be Inspected?
Inspect the Airend after ruling out air demand, leaks, piping issues, air filter restrictions, and control system faults—often confirmed through an outlet isolation test—if the compressor still builds pressure slowly or cannot reach the required pressure.
11. Conclusion
When an air compressor runs continuously but fails to build sufficient pressure, do not immediately conclude that the Airend is faulty. The quickest way to narrow down the cause is to close the outlet valve and test the compressor independently, then follow this inspection sequence:
Independent test by closing the outlet valve → Air demand → Air leaks → Air filter/Inlet Valve → Safety valve/unloading valve → Piping pressure drops → Internal compression mechanism → Controller data.
This approach helps distinguish compressor faults from problems affecting the entire compressed air system, avoids unnecessary spare-part replacement, and reduces the risk of motor overheating or mechanical damage if the problem persists without corrective action.
📞 Need On-Site Inspection Support?
If your compressor continues running but cannot build sufficient pressure, send the following information:
Model, power rating, compressor type (piston/screw), and a photo of the machine nameplate.
Set pressure and actual operating pressure.
Results of the outlet isolation test, if performed.
Controller display information and a video showing the symptoms.
Send this information to the PhuAir technical team so they can determine the next inspection steps based on actual operating data, rather than drawing conclusions or recommending spare-part replacement without sufficient evidence.