

Screw Air Compressor Fails to Unload: Causes and Corrective Actions
1. Quick Answer
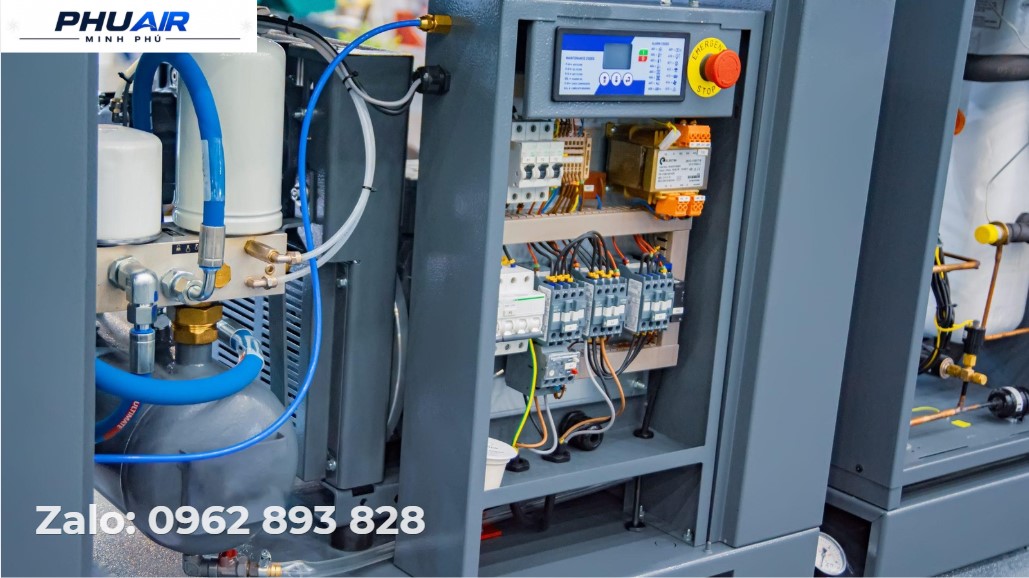
Screw Air Compressor Fails to Unload (Unload Failure) is a condition in which the compressor remains in LOAD mode even though the system pressure has reached the unloading setpoint (Cut-out pressure) or air demand has decreased.
This condition requires prompt attention. If it persists, the pressure may continue to rise beyond the system's allowable limit, causing the safety valve to repeatedly open and discharge air, overloading the compressor or affecting the service life of the main motor and Airend bearings.
However, do not immediately conclude that the solenoid valve or Inlet Valve is faulty. First, determine whether the compressor is genuinely failing to unload or whether the pressure has simply not reached the conditions required to switch to UNLOAD. In the latter case, the compressor running in LOAD mode for an extended period is normal operation, not a fault.
The three main groups of causes when the compressor has reached the required pressure but still fails to unload are:
Mechanical faults in the intake valve assembly (Inlet Valve): stuck in the open position, a jammed control cylinder, a torn valve diaphragm, or oil varnish deposits.
Control system and solenoid valve faults: burned-out coil, stuck valve stem, loss of the electrical signal from the PLC, or incorrect pressure parameter settings.
Pressure sensor signal and control air line faults: inaccurate sensor readings, or a blocked or leaking control air line.
⚠️ Safety Precautions Before Inspection
Always disconnect the power supply and fully depressurize the system before removing the Inlet Valve assembly or control air lines. Residual pressure in the oil tank may cause hot oil to spray out or components to be ejected during disassembly.
Do not tighten or adjust the safety valve to “temporarily resolve” an unloading failure. Doing so disables the system's final safety barrier.
Electrical signal measurements and control cabinet inspections should be performed by qualified technicians.
2. Two Cases That Must First Be Distinguished
The compressor's normal operating cycle is: LOAD → compressed air is produced → pressure rises → the set conditions are reached → UNLOAD.
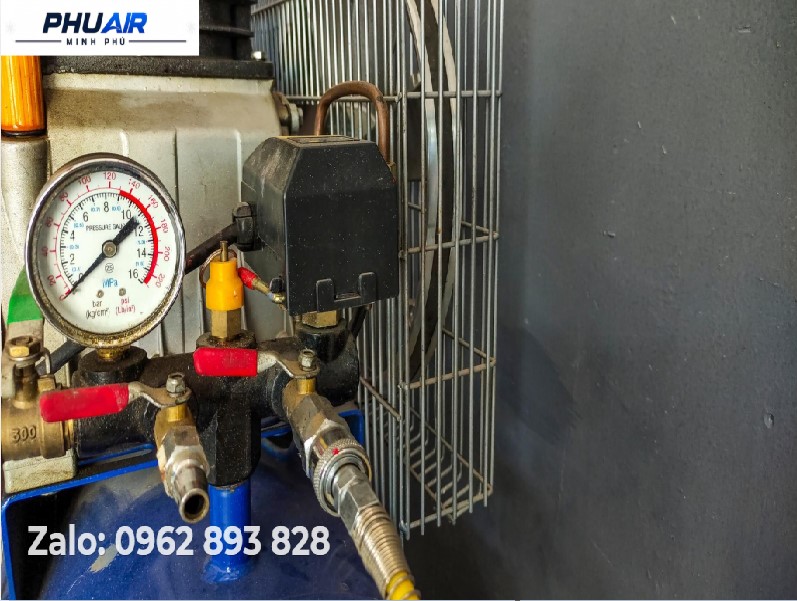
Case 1: The Compressor Has Not Reached the Required Pressure
When the pressure remains below the setpoint, the compressor continuing to run in LOAD may be normal operation rather than a fault.
The entire system must be checked, not just the compressor itself:
Actual air demand.
Air leaks throughout the entire system.
The compressor's pressure-building capability.
Air filter and intake/Inlet Valve.
Oil separator and Minimum Pressure Valve.
Airend condition.
Do not focus solely on the compressor. Inspect the entire system: compressor – air receiver – piping – air-consuming equipment.
Case 2: The Pressure Has Reached the Required Threshold, but the Compressor Remains in LOAD
This is the case that requires closer attention to the LOAD/UNLOAD control system, pressure signals, and the unloading mechanism.
3. Table of Symptoms and Potential Causes
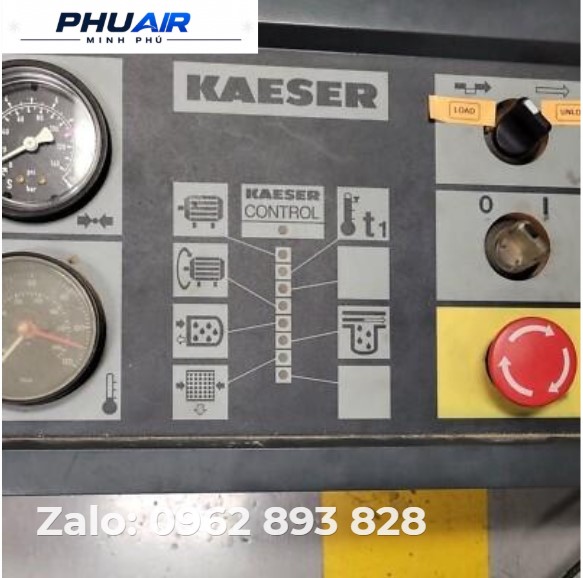
When the available data is insufficient, do not conclude that there is only one cause. Verify the findings before replacing any parts. 4. Detailed Causes4.1. Pressure Has Not Actually Reached the UNLOAD ThresholdThis is the first cause to rule out. Reasons why pressure fails to build may include excessive air demand, air leaks, pressure drops caused by the piping system, a dirty air filter, improper Inlet Valve operation, a clogged oil separator, or reduced Airend efficiency. Corrective action: Do not replace the control valve immediately. First, assess the following in sequence: set pressure → actual pressure → pressure at the point of use → air demand. If air demand exceeds the compressor's supply capacity, reassess the total airflow requirement, required pressure, load fluctuations, and compressor power rating before deciding whether to optimize the system or add equipment. 4.2. Improper Operation of the Suction/Intake Valve |
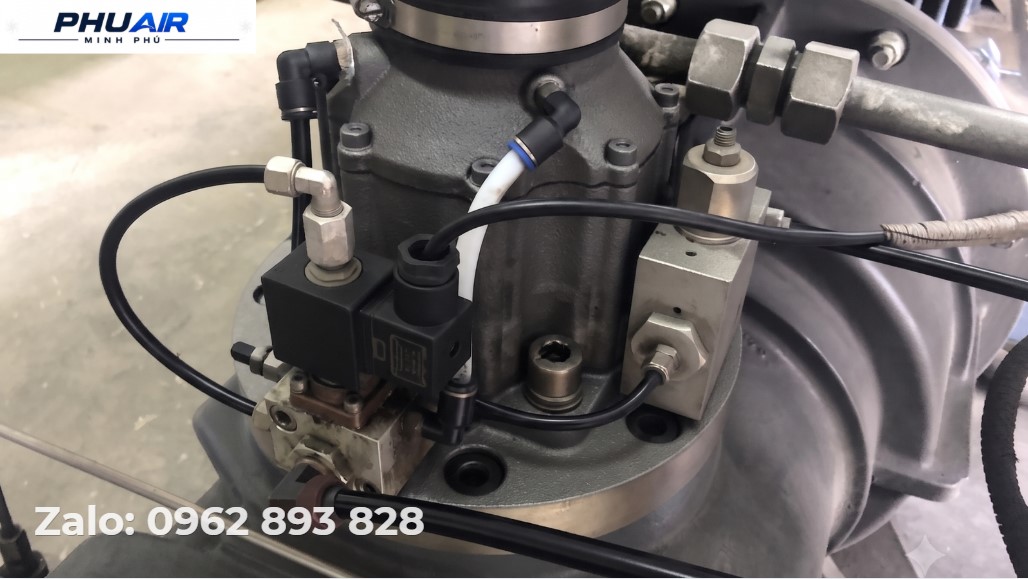
The Inlet Valve controls the amount of air entering the Airend. If the valve is mechanically stuck, only partially open, or fails to open or close correctly in response to control signals, the machine may not operate as intended. This includes cases where the motor continues running under load but no air is drawn in through the air filter inlet because the Inlet Valve is completely stuck closed or only partially open.
Corrective action — follow the correct inspection sequence without skipping any steps: control signal → solenoid valve → piston mechanism → Inlet Valve. Do not conclude that the Inlet Valve is faulty before checking the control signals.
When disassembling the Inlet Valve assembly for inspection (after disconnecting the power supply and fully depressurizing the system), check the valve disc, valve stem, return spring, and rubber diaphragm. If oil varnish deposits cause the valve plate to stick in the open position, clean it with a specialized cleaning solution or replace the inlet valve kit (new gaskets, seals, springs, and diaphragm). Overheated compressor oil that has formed varnish deposits is one of the leading causes of valve stems becoming stuck in unloading valves and Inlet Valves. Therefore, check the condition of the lubricating oil when troubleshooting this issue.
4.3. Faulty Solenoid Control Valve
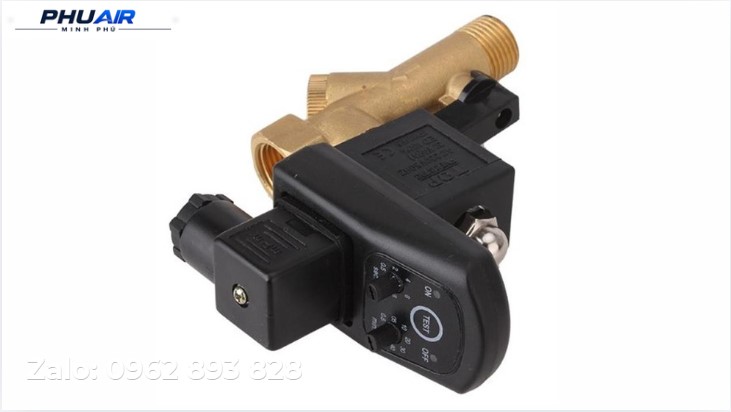
The solenoid valve may experience the following problems: failure to receive a signal, coil failure (open-circuit or burned out), valve sticking due to oil deposits or dirt, problems affecting the control air line, or improper valve mechanism operation.
Inspection procedure:
Has the machine actually issued an UNLOAD command?
Check the voltage supplied to the solenoid coil when the machine reaches the unloading pressure threshold. Is the valve receiving the signal?
Measure the solenoid coil resistance to determine whether it is open-circuit or burned out.
Does the valve actually change state, and does the downstream pneumatic mechanism respond?
If power is supplied but the valve does not actuate or switch the control air flow, the valve stem is often stuck due to oil deposits or dirt. Disassemble and clean it using a suitable cleaning solution, or replace the solenoid valve. The key point is to distinguish between a signal fault (no control command has been issued) and a mechanical fault (a command has been issued, but the valve does not switch). If no control command is being issued, replacing the solenoid valve may not resolve the problem.
4.4. Faulty Pressure Sensor or Incorrect Pressure Signal
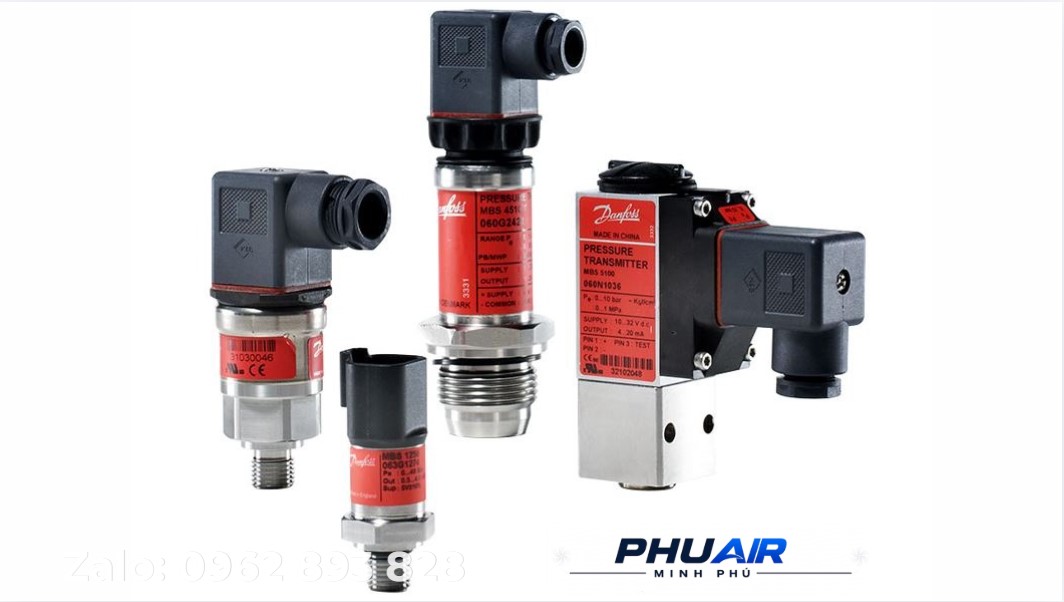
The compressor may fail to unload because the controller receives inaccurate pressure information: the actual pressure has reached the required level, but the controller still receives a low-pressure signal, causing the compressor to remain in LOAD.
Corrective action: Compare the pressure reading displayed on the controller with an independent mechanical pressure gauge installed at the compressor outlet. If the two readings differ significantly, continue checking the pressure sensor, plug connectors, terminals, signal wiring, and pressure sensing point. If the display shows the correct unloading pressure but the output signal to the solenoid does not change state, a faulty output relay on the PLC board should be suspected. Do not replace the sensor based solely on a displayed alarm — verify the reading against an appropriate measuring instrument first.
4.5. Clogged Oil Separator or Problems with the Minimum Pressure Valve (MPCV/MPV)
These potential causes are related to the machine's ability to maintain the required internal pressure conditions. If the display indicates low pressure while the oil separator tank pressure remains high, a severely clogged oil separator or a stuck Minimum Pressure Valve may be responsible.
Corrective action: Inspect the condition of the oil separator, measure the differential pressure according to the correct technical procedure, inspect the Minimum Pressure Valve, and compare the results with the limits specified for the particular machine model. Do not apply a single differential pressure limit to all machine models — each model has different thresholds according to the manufacturer's documentation.
4.6. Air Leaks Prevent the Compressor from Reaching the Unloading Conditions
A system with air leaks may enter a recurring cycle: leakage → pressure drops → compressor switches to LOAD → generates air → pressure rises → air is lost again. If the air loss is sufficiently high, the compressor must operate more than necessary, resulting not only in pressure drops but also in increased electricity costs.
Check the following: pipelines, fittings, valves, filters, end-use equipment, air receivers, and any points where abnormal hissing sounds are heard.
4.7. Pressure Drops Caused by the Piping System
It is important to distinguish between the compressor failing to reach the required pressure and the compressor reaching the required pressure while pressure at the point of use remains low. These two conditions do not have the same causes. Undersized or excessively long pipelines, too many elbows, bends, and valves, dirty line filters, or sudden increases in air consumption can all cause pressure drops.
Corrective action: Measure pressure at multiple locations in the following sequence: compressor → air receiver → pipeline inlet → point of use. This helps identify where an abnormal pressure difference occurs.
5. Practical Inspection Procedure
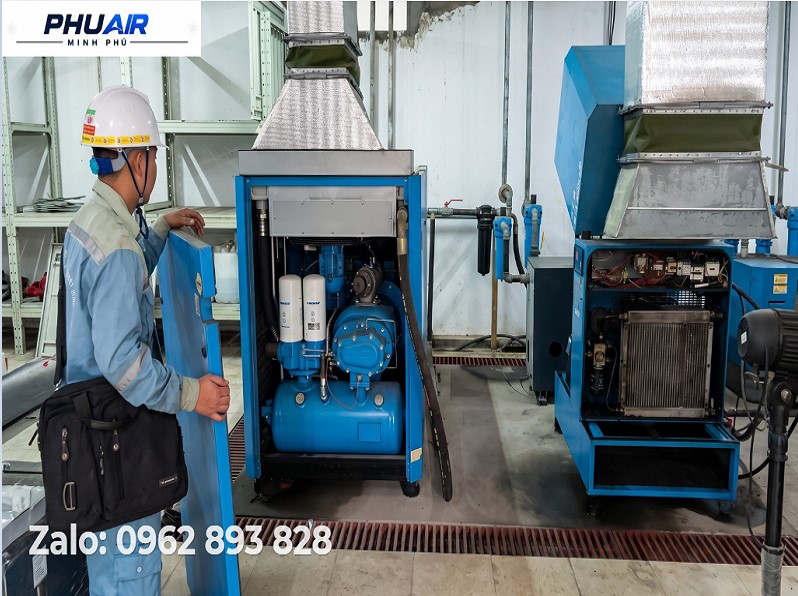
Step 1 – Confirm the Symptom: Record the machine model, power rating, set pressure, actual pressure, LOAD/UNLOAD status, when the issue appeared, and any alarm/fault codes (if available).
Step 2 – Check Air Demand: Determine whether the system is consuming a large amount of air. If air demand exceeds the compressor's supply capacity, an extended period in LOAD may not indicate an unloading fault.
Step 3 – Check for Air Leaks and Pressure Drops: Inspect the entire compressed air distribution system, not just the compressor itself.
Step 4 – Cross-Check Pressure Signals: Compare the actual pressure, measured using an independent mechanical pressure gauge, with the pressure displayed on the controller. If the two readings do not match, inspect the sensor and signal wiring.
Step 5 – Check the Solenoid Valve: Measure the voltage supplied to the solenoid coil when the compressor reaches the unloading pressure threshold. Measure the coil resistance to determine whether it is open-circuit or burned out.
Step 6 – Inspect the Control Air Line: Inspect the flexible tubing between the solenoid valve and the actuator cylinder of the Inlet Valve. Kinks, holes, leaks, or blockages caused by dried oil deposits can prevent sufficient control pressure from reaching the piston or diaphragm to close the valve.
Step 7 – Disassemble and Service the Inlet Valve Assembly: Only proceed after disconnecting the power supply and fully depressurizing the system. If the preceding steps do not identify the cause, continue inspecting the air filter, oil separator, Minimum Pressure Valve, Airend, and other related components in accordance with the specific machine model.
6. Quick Diagnostic Table
Symptom | Potential Causes to Investigate |
|---|---|
Pressure has not reached the setpoint, and the compressor remains in LOAD | Air demand, leaks, pressure-building capability |
Pressure has reached the setpoint, but the compressor does not switch to UNLOAD | LOAD/UNLOAD control system |
Actual pressure differs from the display | Sensor, signal wiring, PLC relay |
An UNLOAD command is issued, but the valve does not switch | Solenoid valve/control mechanism |
The compressor is in LOAD, but air intake is abnormal | Inlet Valve |
Air blows back through the air filter when switching to unloaded operation | Check valve/Minimum Pressure Valve |
Compressor pressure is normal, but pressure is low at the end of the pipeline | Piping, filters, pressure drop |
The compressor spends more time in LOAD than before despite unchanged air demand | Air leaks or reduced efficiency |
7. Mistakes to Avoid
❌ Replacing the solenoid valve immediately when the compressor fails to unload. Without verifying the control signals, it is not possible to conclude that the solenoid valve is the cause.
❌ Increasing the set pressure to force the machine to change operating states, or arbitrarily tightening/adjusting the safety valve. This does not resolve the root cause and may compromise the system's final safety safeguard.
❌ Disassembling the Inlet Valve or control air lines before fully depressurizing the system. This may cause hot oil to spray out or components to be ejected, creating a serious hazard.
❌ Ignoring air leaks. Leaks can force the compressor to remain loaded for longer and increase operating costs.
❌ Inspecting only the compressor while ignoring the rest of the system. The compressor, air receiver, pipelines, and air-consuming equipment must be assessed as an integrated system.
❌ Overlooking lubricating oil condition. Overheated oil that has formed varnish deposits is a leading cause of valve stems becoming stuck.
8. Is Prolonged Failure to Unload Dangerous?
Yes, if the condition persists without corrective action. When the compressor operates at a pressure exceeding its design limits, the consequences may include main motor overload (tripping the thermal overload relay or, in severe cases, motor burnout), reduced Airend bearing service life, and an increased risk of the safety valve repeatedly venting pressure.
Therefore, this condition should be inspected and addressed promptly. The machine should not continue operating without an identified cause if the pressure has clearly exceeded the set threshold.
9. When Should You Call a Technician?
Request a technical inspection when:
The compressor has reached the set pressure but still does not switch to UNLOAD.
The compressor remains in LOAD abnormally.
The LOAD/UNLOAD status does not correspond to the actual pressure.
The actual pressure reading differs from the value displayed on the controller.
The solenoid valve or Inlet Valve shows signs of abnormal operation.
The machine displays a pressure-related alarm.
The issue persists after checking for air leaks.
Information to Prepare When Reporting the Fault
Machine model, power rating, and a photo of the machine nameplate.
Set pressure and current actual pressure.
A photo of the controller display.
A video showing the LOAD/UNLOAD status.
Alarm/fault code (if available).
When the issue first appeared and any recent changes to the system.
This information helps narrow down the cause more quickly and reduces unnecessary parts replacement.
10. Frequently Asked Questions (FAQ)
Does a screw air compressor that fails to unload necessarily have a fault? Not necessarily. First, determine whether the pressure has reached the conditions required for switching to UNLOAD. If the pressure has not reached the setpoint, the compressor remaining in LOAD may be normal operation.
Why does the compressor fail to unload even after reaching the set pressure? The LOAD/UNLOAD control system, pressure sensor, control signals, solenoid valve, and related valve mechanisms should be inspected.
Can a compressor that fails to unload for an extended period damage the machine? Yes. Prolonged operation at excessive pressure can overload the main motor, reduce Airend bearing service life, and increase the risk of repeated safety valve venting.
Why does the Inlet Valve still fail to close even though the solenoid valve is working properly? This may be related to a torn piston or diaphragm in the Inlet Valve actuator assembly, cylinder scoring, or a broken or weakened return spring inside the valve. These conditions can prevent the control air force from overcoming the mechanical resistance.
Can a faulty pressure sensor cause an unloading failure? Yes. This can occur if the controller receives an inaccurate pressure reading. Compare the displayed value with the actual pressure measured using an independent mechanical pressure gauge.
Can air leaks cause the compressor to remain in LOAD continuously? Yes. Leaks waste compressed air and may force the compressor to keep generating air to compensate for the loss.
If the compressor reaches the set pressure but pressure remains low at the end of the pipeline, does this mean the compressor is failing to unload? Not necessarily. A compressor fault must be distinguished from pressure drops in the compressed air distribution system.
Should I adjust the LOAD/UNLOAD pressure settings myself? Do not change the settings arbitrarily without confirming the appropriate parameters for the specific machine model and the entire system.
How often should the Inlet Valve assembly be serviced or its repair kit replaced? The specific interval depends on the manufacturer's recommendations and the machine's actual operating frequency. Consult the maintenance documentation for the specific model rather than applying a single interval to all machines.
What information should I provide to help diagnose the fault? Provide the machine model, power rating, a photo of the nameplate, set pressure, actual pressure, a photo of the controller display, and a video showing the LOAD/UNLOAD behavior.
11. Conclusion
A screw air compressor that fails to unload does not necessarily have a faulty solenoid valve or Inlet Valve. The recommended diagnostic sequence is:
Confirm the symptom → check air demand → inspect the entire system for leaks and pressure drops → cross-check pressure signals → inspect the solenoid valve → inspect the control air line → if necessary, disconnect the power supply, depressurize the system, and disassemble and service the Inlet Valve assembly.
Because this condition can affect operational safety if it persists, prioritize prompt corrective action. Always follow the applicable safety procedures, including power isolation and depressurization, before working on any valve assembly.
Need On-Site Technical Support?
If your screw air compressor fails to unload despite reaching the set pressure threshold, send the following information to the PhuAir technical team:
Machine model, power rating, and a photo of the nameplate.
Set pressure and current pressure.
A photo of the controller display.
A video showing the LOAD/UNLOAD status.
The PhuAir technical team can use actual operating data to determine the next inspection steps, rather than reaching a conclusion or recommending parts replacement without sufficient evidence.